- 2 cups all-purpose flour or 1 1/2 cups all-purpose flour and 1/2 cup cake flour
- 1 tablespoon baking powder
- 1/2 teaspoon baking soda
- 1 teaspoon salt
- 1/2 cup vegetable shortening, chilled or butter, cut into small chunks about the size of sugar cubes*
- 1 cup buttermilk, cold**
-
In a large bowl, sift together flour, baking powder, baking soda, and salt. Toss the butter chunks into the flour mixture. Refrigerate for a least 1 hour or overnight.
-
Remove the bowl from the refrigerator and, using clean hands, mash the butter chunks between your thumb and index finger into quarter-sized pieces. Do not handle the mixture too much as you want to keep the butter cold. Again refrigerate the mixture for 30 minutes or longer.
-
Meanwhile, preheat your oven to 400 degrees F.
-
After refrigerating, mix the cold buttermilk into the flour/butter mixture, tossing briskly with your hands or a fork to evenly distribute the buttermilk so no dry bits of flour are visible. The dough will be sticky but should clear the sides of the bowl.
-
Scrape the biscuit mixture out onto a lightly-floured work surface and gather, with floured hands, into a ball (do not knead). Roll the dough into a rectangle about 1/4-inch thick. Fold into thirds and rotate dough 90 degrees, dusting work surface with flour. Roll out to about 1-inch thick.
-
Using a 3-inch biscuit cutter or drinking glass, cut the dough (press down on the cutter, but do not turn or twist), dipping the cutter or glass into the flour after each cut. Be sure to cut the biscuits close together, even touching, so you will not have many scraps. Re-rolling the scraps will make tougher biscuits. Place onto an ungreased baking sheet, close together for soft-sided biscuits or 1-inch apart for crisp-sided ones.
-
NOTE: If you need to hold the uncooked biscuits, the cut dough rounds can be refrigerated for up to 1 hour.
-
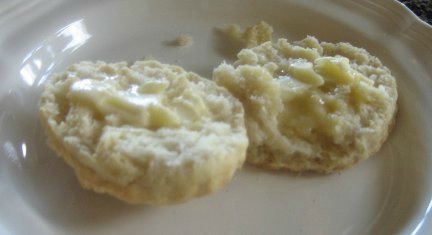
Bake approximately 15 to 20 minutes, without opening the oven door, until the biscuits have risen and the tops are golden brown. Remove from oven and serve warm.
-
Makes 6 to 8 (3-inch) biscuits.
* The vegetable shortening or butter must be very cold. Refrigerate before using. By keeping the shortening or butter cold, it prevents it from becoming greasy.
** Learn how to make a Buttermilk Substitution.
You Might Also Like:
This outstanding and very unusual Maple Bacon Biscuit recipe is by pastry chef Zoe Nathan of the Huckleberry Bakery and Cafe in Santa Monica, CA.
Herb and Cheese Biscuits
These delicious Herb and Cheese biscuits are cut into smaller sizes than regular biscuits. They are delicious and good served anytime of the day.
Sourdough Biscuits
These easy-to-make and very delicious Sourdough Biscuits are another great recipe to use your sourdough starter. Who doesn’t like biscuits? Another way to use your Sourdough Starter.
Sweet Potato Biscuits
These Sweet Potato Biscuits are a winner and I know you’ll like them!
When I asked my husband what was his favorite meal that his mother, Ruth Sturm, used to make, he said; “Biscuits and gravy! We must get Mom’s recipe for her biscuits and gravy.” So here it is.