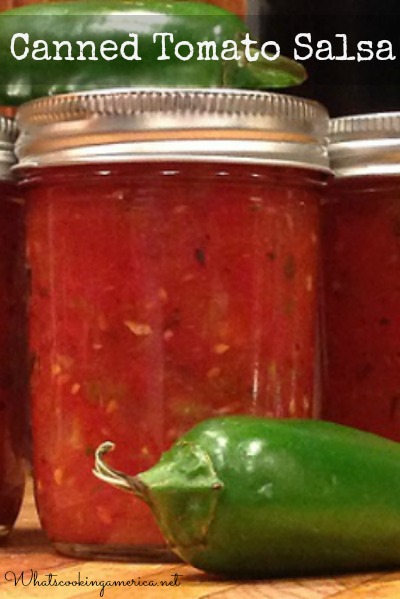
Learn how to properly and safely can your homemade canned Tomato Salsa. This was my daughters, Brenda Weller and Nancy Hartman, first time experience canning homemade tomato salsa. Canning and friends go together because it can be a lengthy process all by yourself. It is a great opportunity to gather a few friends or involve your family, as the more hands makes the work go faster. Not to mention the fun of working with a group far outweighs attempting to can by yourself. Preserving your own food is a very satisfying and rewarding experience. If we can can, you can too!
Thank you to Joyce Bender of Powell Butte, OR, Washington State University Master Food Preserver, for reviewing our canning projects and offering her advice and moral support.
Canned Tomato Salsa Recipe:
Both the Oregon and Washington State University Extension Service offers a 16-page booklet, “Salsa Recipes for Canning,” (PNW 395) full of tasty, safe and tested recipes for green salsa, red salsa, tomato and green chili salsa and straight chili salsa, plus taco sauce. In all the recipes, red tomatoes, green tomatoes and tomatillos may be used interchangeably and safely. Please take a moment to review the following Washington State University guide on safe recipes for home canning: Salsa Recipes for Canning, by Val Hillers and Richard Dougherty.
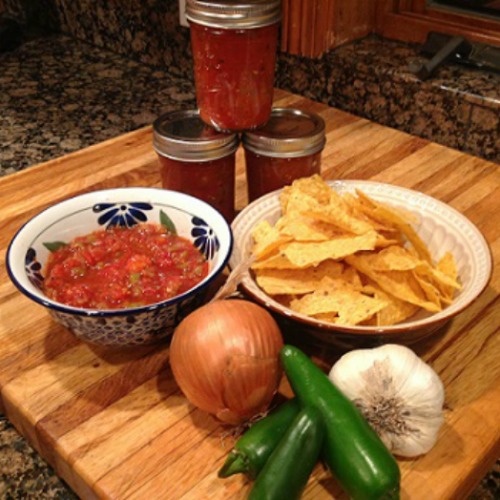
Ingredients:
Important: To avoid the risk of botulism or food poisoning, follow the directions exactly for each recipe. Use the amounts of each vegetable listed in the recipe. Add the amount of vinegar or lemon juice listed. The only changes you can safely make when following a salsa recipe are to substitute bottled lemon juice for vinegar and to change the amount of spices and herbs. Do not alter the proportions of vegetables to acid and tomatoes because it might make the salsa unsafe by reducing the acidity. If you still want to alter your salsa recipe, then store the salsa in the freezer or refrigerator instead of canning. Do not thicken salsas with flour or cornstarch before canning. After you open a jar to use, you may pour off some of the liquid or thicken with cornstarch.
7 quarts peeled, cored, and chopped paste tomatoes (we used Roma tomatoes)*
4 cups seeded and chopped long green chile peppers**
5 cups chopped onion
1/2 cup seeded and finely-chopped jalapeno chile peppers
6 cloves garlic, finely chopped
2 cups bottled lemon or lime juice
2 tablespoons salt
1 tablespoon black pepper
2 tablespoons ground cumin
3 tablespoons dried oregano leaves
2 tablespoons chopped fresh cilantro
* What is a paste tomato? Any tomato that is generally oval or cylindrical or with plum or paste in it’s name. Paste tomatoes are seedless (or nearly so) and have a higher solid content. This makes them more suitable for processing. Roma tomatoes are a paste tomato which are great for canning and making salsas and sauces.
Selecting tomatoes: Choose vine-ripened tomatoes, preferably locally grown, because the less the tomatoes have to travel, the more likely they were picked ripe. Select tomatoes that are firm, glossy, smooth, plump, heavy for their size, and free of bruises. Avoid tomatoes that are overly ripe and soft. Fragrance is a better indicator of a good tomato than color. Use your nose and smell the stem end. The stem should retain the garden aroma of the plant itself – if it does not, your tomato will lack flavor and, as far as I am concerned, will be good only for decoration!
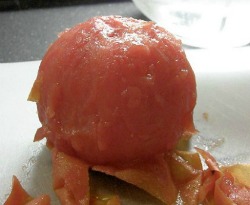
Learn How To Peel Fresh Tomatoes. The following technique makes this job easy and quick. You probably are saying, “Why peel tomatoes? The answer is very simple – peeling gives a better texture that is softer in the mouth.
** Selecting chile peppers: Make sure that the chile peppers are firm to the touch and the skin is smooth. Once they are wrinkled, their crisp texture and fresh flavor is gone. If you are searching for milder chile peppers, always select ones that have broad shoulders and blunt tips. For hotter chile peppers, select chiles with pointed tips and narrow shoulders. This is important because you can have up to 35 different piquancies on one plant at a time.
Always wear gloves when working with hot chile peppers (fresh, dried, or roasted chiles). Never touch your eyes when working with chile peppers. Gloves will protect your hands, but the capsaicin in the chile pepper sticks to all it touches, and if you touch near your eyes it will burn. Rinse well with copious amounts of water. Please do not learn this lesson the hard way!
Wash the chile pepper first. Slice the chile pepper down the center with the tip of your knife. You can see the membranes and seeds here in these two halves. The membranes are where the capsaicin is stored. It is this part of the chile pepper that carries the heat. The seeds are not as hot, but since they are a part of the membrane they do have a slight bit more heat than the green outer chile pepper.
Equipment Needed:
- Large (16-quart) non-reactive stockpot or canning pots with rack.
- 18 pint-size canning jars (since the salsa processing time is more than 10 minutes, the jars do not need to be sterilized, only cleaned).
- Canning jar lids and bands – Rings and metal bands that secure the lids to the jars. You will ALWAYS use NEW LIDS when canning. Bands may be re-used but, never try to can new products by using old lids. Be sure to wash the bands and check them to make sure they are not bent.
- Jar lifters or canning tongs (canning tongs to make it easy to lift the jars in and out of boiling water).
- Canning funnels – A funnel with a wide mouth and neck that’s designed to sit on top of a canning jar easily and with less mess.
- Large spoon and ladle.
- Gloves for handling hot jars (Ove’ Gloves work well).
Preparation:
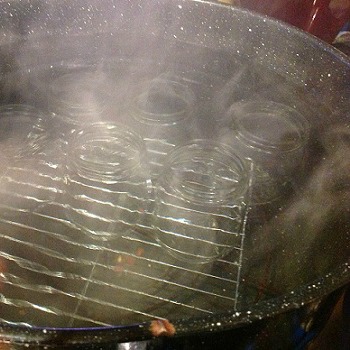
Preparing the canning equipment: Before you start preparing your salsa, place canner rack in the bottom of a water canner. Fill the canner half full with clean warm water and bring to a simmer.
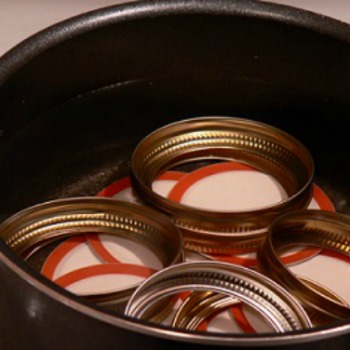
Wash jars, lids, and rings in hot soapy water (washing in your dishwasher works great); rinse with warm water and drain on clean towels. Place the lids and the bands in a small pot of warm water. I run hot tap water into my pot and then place it over the lowest heat setting on my stove. You just need to warm them slightly to soften up the rubber around the underside edge of the lids to ensure a proper seal. DO NOT boil the lids at any time. Just let them continue to warm up, off the heat, while everything else is coming up to speed. Prepare only the amount of lids and rings needed for each individual canner load.
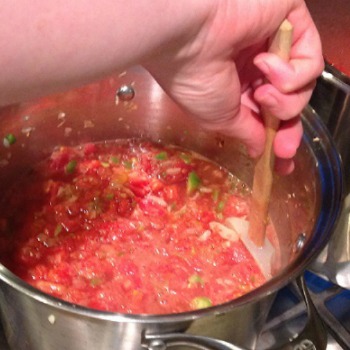
Preparing the Salsa: In a large stainless-steel pot over medium-high heat, add the tomatoes, chile peppers, onion, garlic, lemon or lime juice, salt, and pepper and bring just to a boil, stirring frequently. Reduce heat to medium-low and simmer an additional 10 minutes. Add the cumin, oregano, and cilantro and let simmer for another 20 minutes, stirring occasionally.
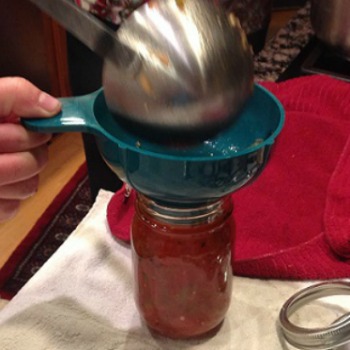
Filling the jars: To prevent glass breakage from filling the jars with hot boiling salsa, use jars that were just washed in hot water. If jars were cleaned earlier in the day and they have cooled off, jars can be re-heated by placing in the canning pot and filling with the hot water for a few minutes. Ladle the hot salsa mixture into the prepared pint jars, leaving 1/2-inch headspace. Headspace is the amount of space between the top of the salsa the top of the jar itself.
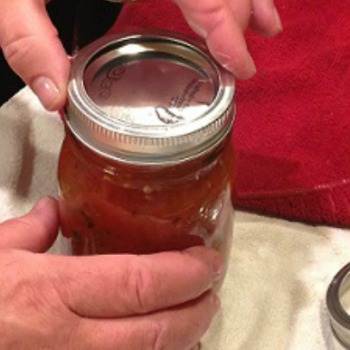
Wipe the rims with a clean dampened paper towel so that there is no residual food on the rims. Place canning lids on the jars, and screw on the lid rings with your finger tips. Do not over-tighten the rings, as you may not get a good seal. Air does need to escape from the jars during the water bath step.

Place the filled jars of salsa onto the rack in the canner with the hot simmering water. Add additional boiling water 1 to 2 inches over the top of the filled jars. Do not pour the water directly on the jars. Bring water back to a boil.
Processing the Salsa: Once water is back to a rolling boil, set a timer for recommended processing time (see below) and watch closely to keep water boiling gently and steadily. Add additional boiling water, if necessary, to keep jars covered.

After processing time is completed, immediately remove jars with a jar lifter and place jars upright on a towel or cooling rack to cool completely. Do not tip the jars to remove accumulated water on the top, as this could compromise the sealing process. Leave at least one (1) inch of space between the jars during cooling. Avoid placing the jars on a cold surface or in a cold draft. Let the jars sit undisturbed while they cool. Do not tighten ring bands on the lids or push down on the center of the flat metal lid until the jar is completely cooled.
After jars cool, check seals by pressing middle of lid with your finger (if lid springs back, lid is not sealed and refrigeration is necessary). Put any unsealed jars in the refrigerator and use first.
Storing: Wipe jars with a towel. Remove the screw bands to avoid rust. Label jars and store the sealed jars in a a cool, dry, dark place up to 1 year. Heat, freezing temperatures, light, or dampness will decrease the quality and shelf like of the canned foods. Refrigerate any open jars up to 3 weeks.
Precautions: Before opening each jar, look for bulging lids, leaks, or any unusual appearance of the food. If you see any, do not use and throw away. After opening, check for off-odor, mold, or foam. If there is any sign of spoilage, destroy the food.
Yields 16 o 18 pints.
Source: “Salsa Recipes for Canning” by Val Hillers and Richard Dougherty.
Categories:
Chile Peppers Salsa Southwest Recipes Summer Tomato Appetizers Tomatoes Vegetarian Recipe Collection
6 Responses to “Canned Tomato Salsa Recipe”
Simi Jois
Congratulations on the new look and I just love your NEW LOGO. Fabulous.
Whats Cooking America
Thanks Simi!
Gina
is refrigeration needed if canned stewed tomatoes are used instead of fresh tomatoes?
Sharon Stroud
Help! Can you tell me how many Roma tomatoes would equal a quart. Site states not to vary amounts of any ingredient when making salsa in order to keep it safe. Recipe calls for 7 quarts of tomatoes.
Nancy
When I did a Google search I found that an average of 23 pounds equals 7 quarts
https://nchfp.uga.edu/how/can_03/tomato_juice.html
Lisa
Since Roma tomatoes vary widely in size a volume measure 7 Qts = 28 cups is more accurate.